Tuesday, December 7, 2010

End of Semester projects

This picture was one of the pictures on the checklist. This was just any project I wanted to do so I took a frog's face and put it on a husky dog.


This was a black and white picture that I had to make better. As you can see I changed the grass, the color of the bench, and the bricks in front of the bench by the road.


We also had to make ourselves on the front of a book cover. I went and found a book off of google and then I just moved my face onto it.


This is just a collage I made of myself. This was another picture that was on the checklist that we had to get done.


Like the book cover I just moved my face onto the body of the actual person who is in the movie. In this case I also put my name in at the top. I replaced David Spade in this movie ( sorry David).


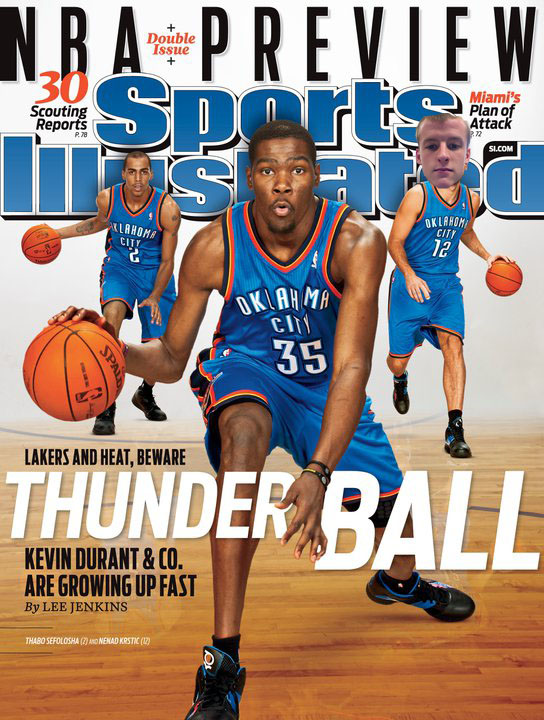
And like the book cover and the movie poster, I put my face here on the cover of Sports Illustrated NBA preview.


Sorry about the same picture I don't know what happened but the basketball and eagle head is a logo that I made. This could maybe be a logo for our O'Neill Eagles in the future.


This is an old photo that I had to restore. I didn't restore the whole picture just the sky and the buildings behind it. I thought it looked kind of cool leaving the car and person black and white while bringing color to the background of the picture.


Mr. Peterson gave us a funny photo to work with and to use it in anyway we wanted to (the funny picture is the phone if you didn't know). So I put the Grinch talking into it, well screaming Hello into it.


And this is just a T-Shirt design that I made. It's a shirt for the TCU Horned Frogs.

Monday, November 22, 2010

week 14

This is a Collage I did this week. I just opened up a new document in photoshop and then I got different pictures and placed them on here. I got most of my pictures off of Google but the picture in the top left corner is a very special one. I got that picture from a very good friend who loves me. Then as you see I just wrote a text in the bottom left corner.

Tuesday, November 16, 2010

week 12 pictures


This week I worked on using different brushes I downloaded off the website www.atncentral.com and I changed my pictures to look cool and change things. On some of the pictures like the one of the husky and log cabin the brushes I used with those pictures just sharpened up the pictures a little bit and didn't change the pictures a whole lot like the other two pictures I did.

Wednesday, November 10, 2010

week 11 pictures


With all of these pictures I used the elliptical marquee tool in photoshop to outline where I wanted the image to be clear at. Then I went up to select and selected the inverse and then I went to filter and went to blur and then clicked on Gaussion blur. Then I just deselected and saved my pictures.

Wednesday, November 3, 2010

week 10 pictures

With this picture I just outlined what I wanted to with the magnetic lasso tool and then I just changed the color inside of what I outlined.


Again with this picture I used the magnetic lasso tool to outline what I wanted to change. But then I used the color replacement tool in photoshop to change the color of the roof.


With this picture I just adjusted to shadows and highlights of this image by going to photoshop then clicking on image at the top of the screen then going over to shadows and highlights, and so that's what I did in this picture.


With this picture I was supposed to have the picture show up inside of the letters. The letters in this picture say Brothers because it's a picture of Mario and Luigi, but as you can see it didn't turn out the best.

Wednesday, October 27, 2010


I got all of these pictures off of google and then I downloaded some spooky Halloween brushes and saved them into photoshop. Then I used whichever brushes I wanted to and kind of spiced up the pictures a little bit.

Thursday, October 21, 2010

week 9 pics

With this picture I downloaded some graffiti brushes then just painted the different designs on the side of the train car.


With these 3 pictures I got them into photo then I then I highlighted the picture then I went to Edit in photoshop and clicked on brush preset and then my pictures were brushes. So then I opened up a new black document and went into my brushes then made my pictures.